feature ·
Install ComfyUI in one click
Pick it on the workspace screen. Save a snapshot, and every new machine has it.
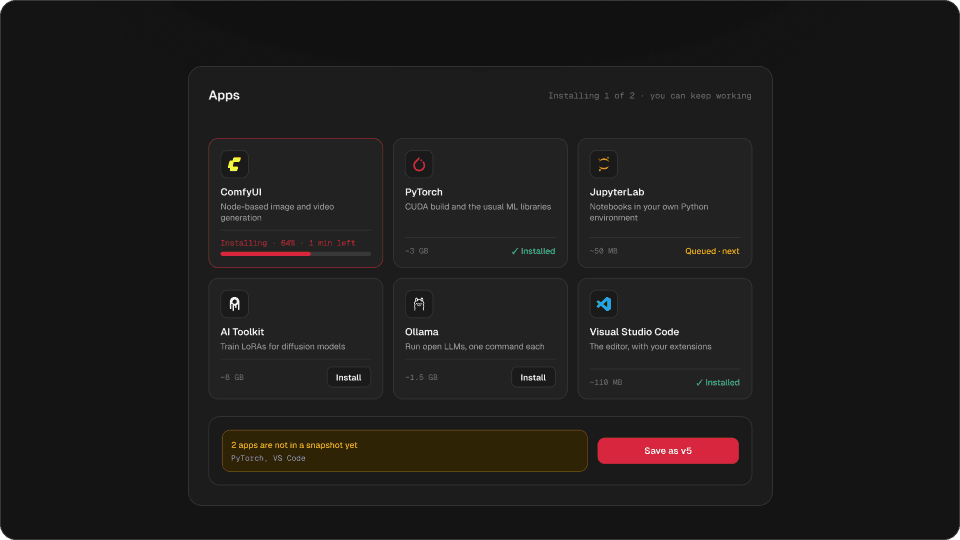
Press Install on ComfyUI’s card and it arrives with PyTorch and a working CUDA build. Save a snapshot, and every GPU machine you start already has it.
Installing ComfyUI is easy the first time. Installing it on a fresh cloud GPU every week is not: the right PyTorch for the card, a CUDA build that matches the driver, the custom nodes, the wheel that will not build.
In Hinode you install it once, on your workspace, and save it.

ComfyUI
Installing · 64%

PyTorch
~3 GB

JupyterLab
~50 MB

AI Toolkit
~8 GB


+ 6 more in the catalog
2 apps are not in a snapshot yet
- v4torch 2.5 and the new LoRA nodes
Ten apps, one click each
Try it
Pick apps and install them
Pick a few apps. What an app needs comes with it, and a second install waits its turn.
Each card says how much it downloads before you commit. What an app needs comes with it: install ComfyUI and PyTorch installs first, and ComfyUI’s card counts PyTorch in its size. A few minutes later it is done, and you can keep working while it runs.
hinode apps install comfyuiSave it once
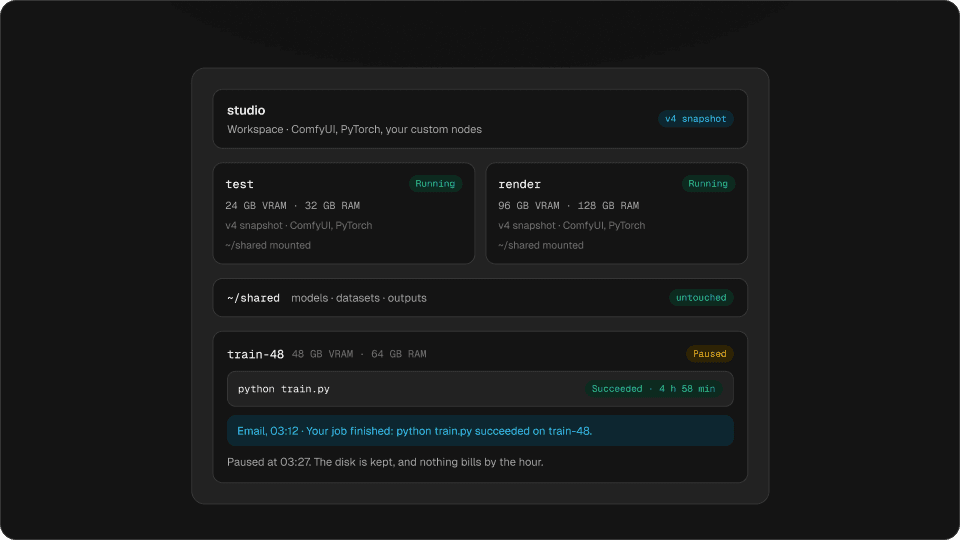
A machine starts from your newest snapshot. So when ComfyUI is installed, press Save on the workspace screen and add a line like “ComfyUI and the new LoRA nodes”. The workspace screen lists anything installed since the last save, so nothing is left behind by accident.
The five newest snapshots are kept. If a new custom node breaks a workflow, attach a machine from the snapshot before it.
Open ComfyUI on a GPU
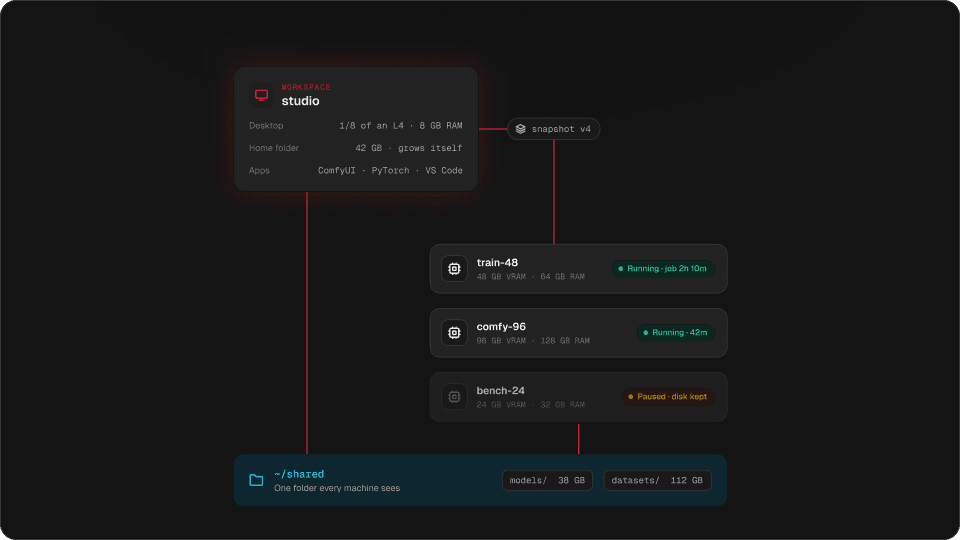
Set up in your workspace. Render on a machine. Attach a machine with the VRAM the workflow needs, and open ComfyUI from its Connect menu, or in your own browser:
hinode open comfyui --machine renderThe tab opens on your computer through a private tunnel, so ComfyUI is never open to the internet.
Your own custom nodes
It is your computer. Clone custom nodes, pip install what they need, add models from Civitai or Hugging Face. None of it is second class. Put checkpoints and LoRAs in the shared folder, and every machine sees them without downloading them again.
Questions
How do I install ComfyUI on a cloud GPU?
Press Install on ComfyUI’s card on the workspace screen, or run hinode apps install comfyui. PyTorch comes with it.
Can I use my own custom nodes?
Yes. Install them as you would on your own computer, then save a snapshot so every machine has them.
What if an update breaks my workflow?
Attach a machine from an older snapshot. The five newest are kept.
Is ComfyUI open to the internet?
No. You open it in the Hinode app or with hinode open, over a private tunnel.
What else can I install?
JupyterLab, PyTorch, Ollama, vLLM, LangChain, the AI Toolkit, Axolotl, VS Code and Chrome from the catalog, and anything else with apt, pip or conda.